
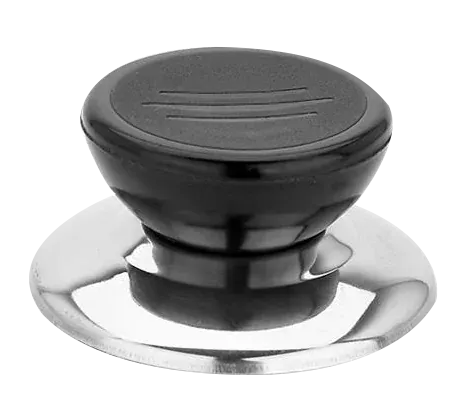
Molding a Pot Lid Knob Around a Threaded Metal Insert
See how a multi-cavity vertical mold forms cookware lid knobs around threaded metal inserts, from loading the inserts to checking the fit on the finished lid.
2026-11-10 | 3 min read | Industry: Cookware accessories
A cookware lid knob has two working faces. On top, the cook grips the molded body to lift the lid. Underneath, a screw passes through the lid and engages a metal thread inside the knob. A knob can look well formed yet sit crooked on the lid if the threaded insert tilts in the mold. The position of the insert matters as much as the finish of the grip.
Loading the inserts into the lower mold
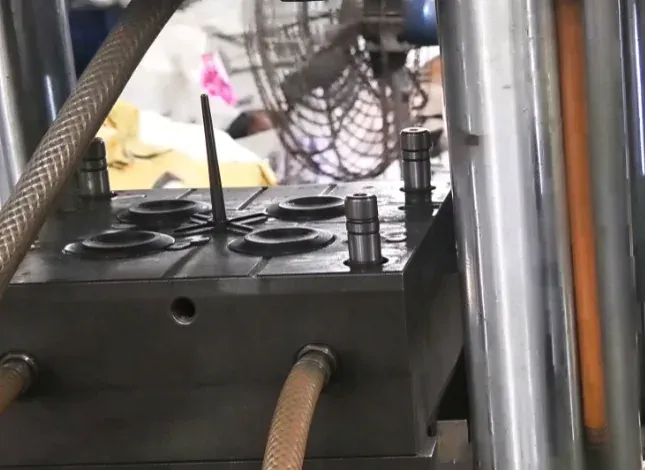
In this DEBOGE project, an operator loads threaded metal inserts into a multi-cavity mold on a vertical injection molding machine. The open lower mold presents the cavities face up, with a supply of inserts beside the tool. Each insert must sit fully on its locator before the mold closes. Its seating depth determines where the thread opening will lie relative to the knob’s mounting face.
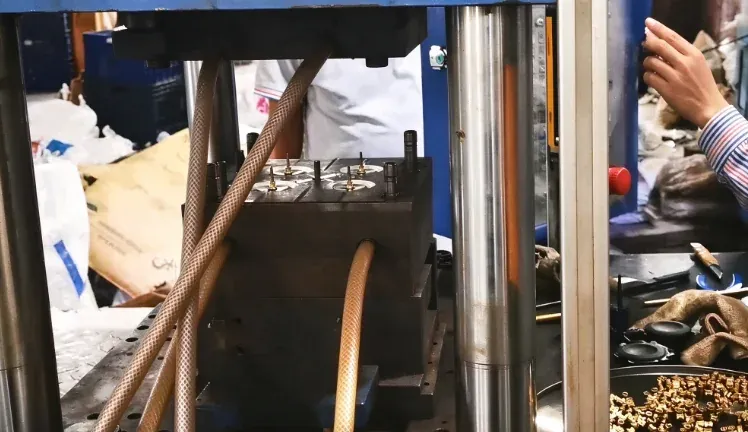
After the mold closes, the machine injects material around the outside of each insert to form the black grip. The tooling must hold the insert in position and keep molding material out of the internal thread. Once the knobs are ready for removal, the mold opens and the operator can unload the parts and prepare the next set of inserts. The same distinction between locating the insert and protecting its thread applies to screw and nut insert molding.
Checking the knob on the lid
For a multi-cavity tool, keep trial samples identified by cavity. If screws consistently bind in knobs from one cavity, that gives the toolmaker a specific insert seat and thread opening to inspect. Three checks are particularly useful during a trial.
- Start the screw by hand. Use the specified mating screw to check that it enters squarely. Inspect the thread opening for molding material if the screw catches.
- Check the assembled stack. Fit the knob to a representative lid with the specified hardware. Verify that the base sits against the lid and the screw clamps the assembly before it reaches the end of the available thread.
- Check the grip and insert together. Inspect the visible surface and the edge where the runner was removed. Tighten the assembly to the torque on the product drawing and check whether the insert turns in the molded body.
For a similar metal insert molding application, send DEBOGE the knob and insert drawings, the lid thickness at the mounting hole, and the mating screw or a complete sample assembly. Include the intended service temperature and material specification when available. These details let the engineering team review the cavity layout, insert seating and assembly checks against the actual cookware design. Discuss a pot lid knob project with DEBOGE.
Related Reading
Have a similar application?
Contact Deboge engineering to discuss your production requirements and machine configuration.