
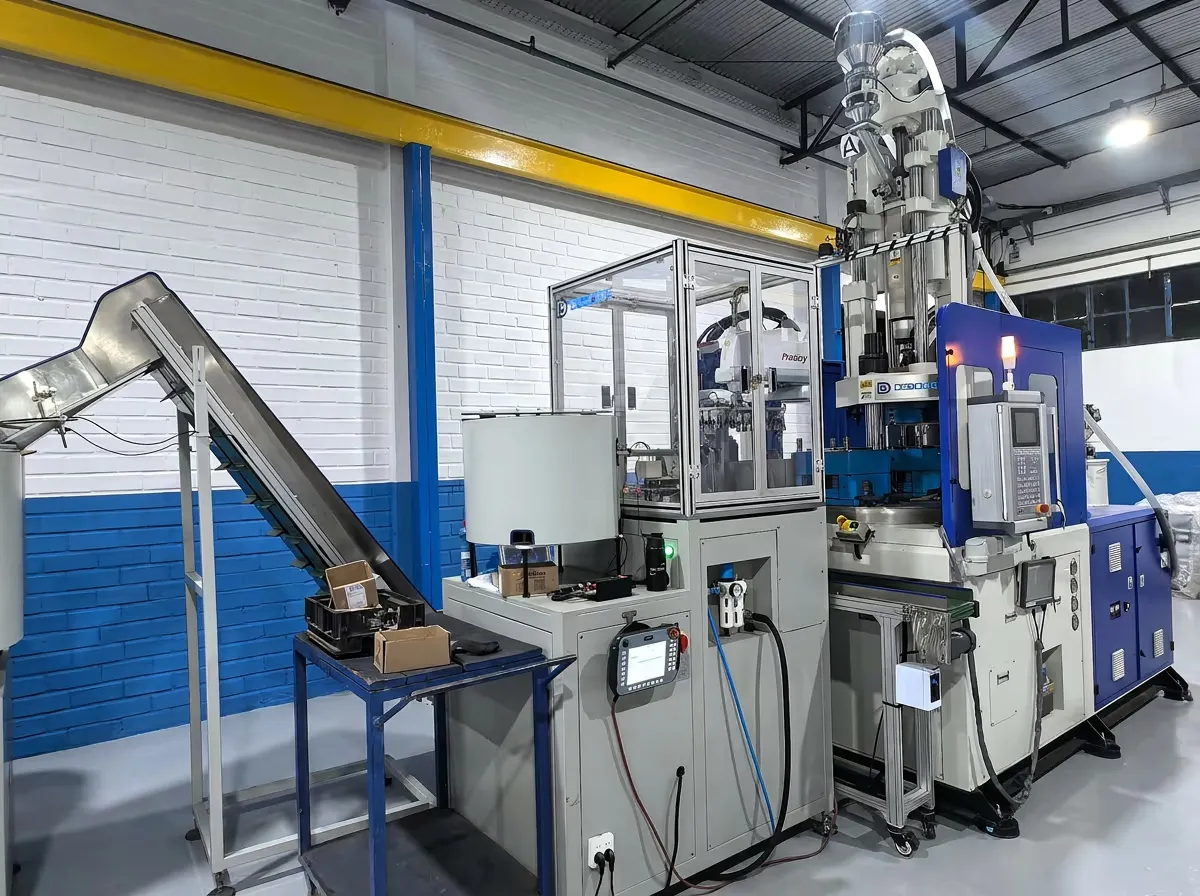
Automation-Ready Vertical Molding Machines
Automation-ready vertical molding machines are specified around the full production cell, including robot access, conveyor flow, vision checks, and safety interfaces.
The right platform starts with the molded part and handling sequence, then adds the control signals, guarding, layout, and access points the automation equipment needs.
Production Requirement
Building the machine with automation in mind - not bolting it on later
An automation-ready machine is specified and built from the start with the interfaces that automation equipment needs: configurable I/O for robot handshake signals, safety interlocks that integrate with cell guarding, predictable platen movement for robot path planning, and accessible mounting surfaces on the machine frame.
The difference between retrofitting and building automation-ready is significant. When a machine is designed with automation interfaces from the start, the robot programmer works with a known, documented interface rather than reverse-engineering signals and fabricating brackets on an already-installed machine.
- Configured I/O and comms Dedicated robot handshake signals, safety interlocks, and configurable communication protocols
- Predictable mold access Stationary lower platen or defined slide/rotary positions give robots a consistent target
- Frame mounting provisions Accessible mounting points on the machine frame for robot bases, conveyor brackets, and guarding
- Available across all series DA, DC, and DK - automation-ready provisions are standard, not a special-order option
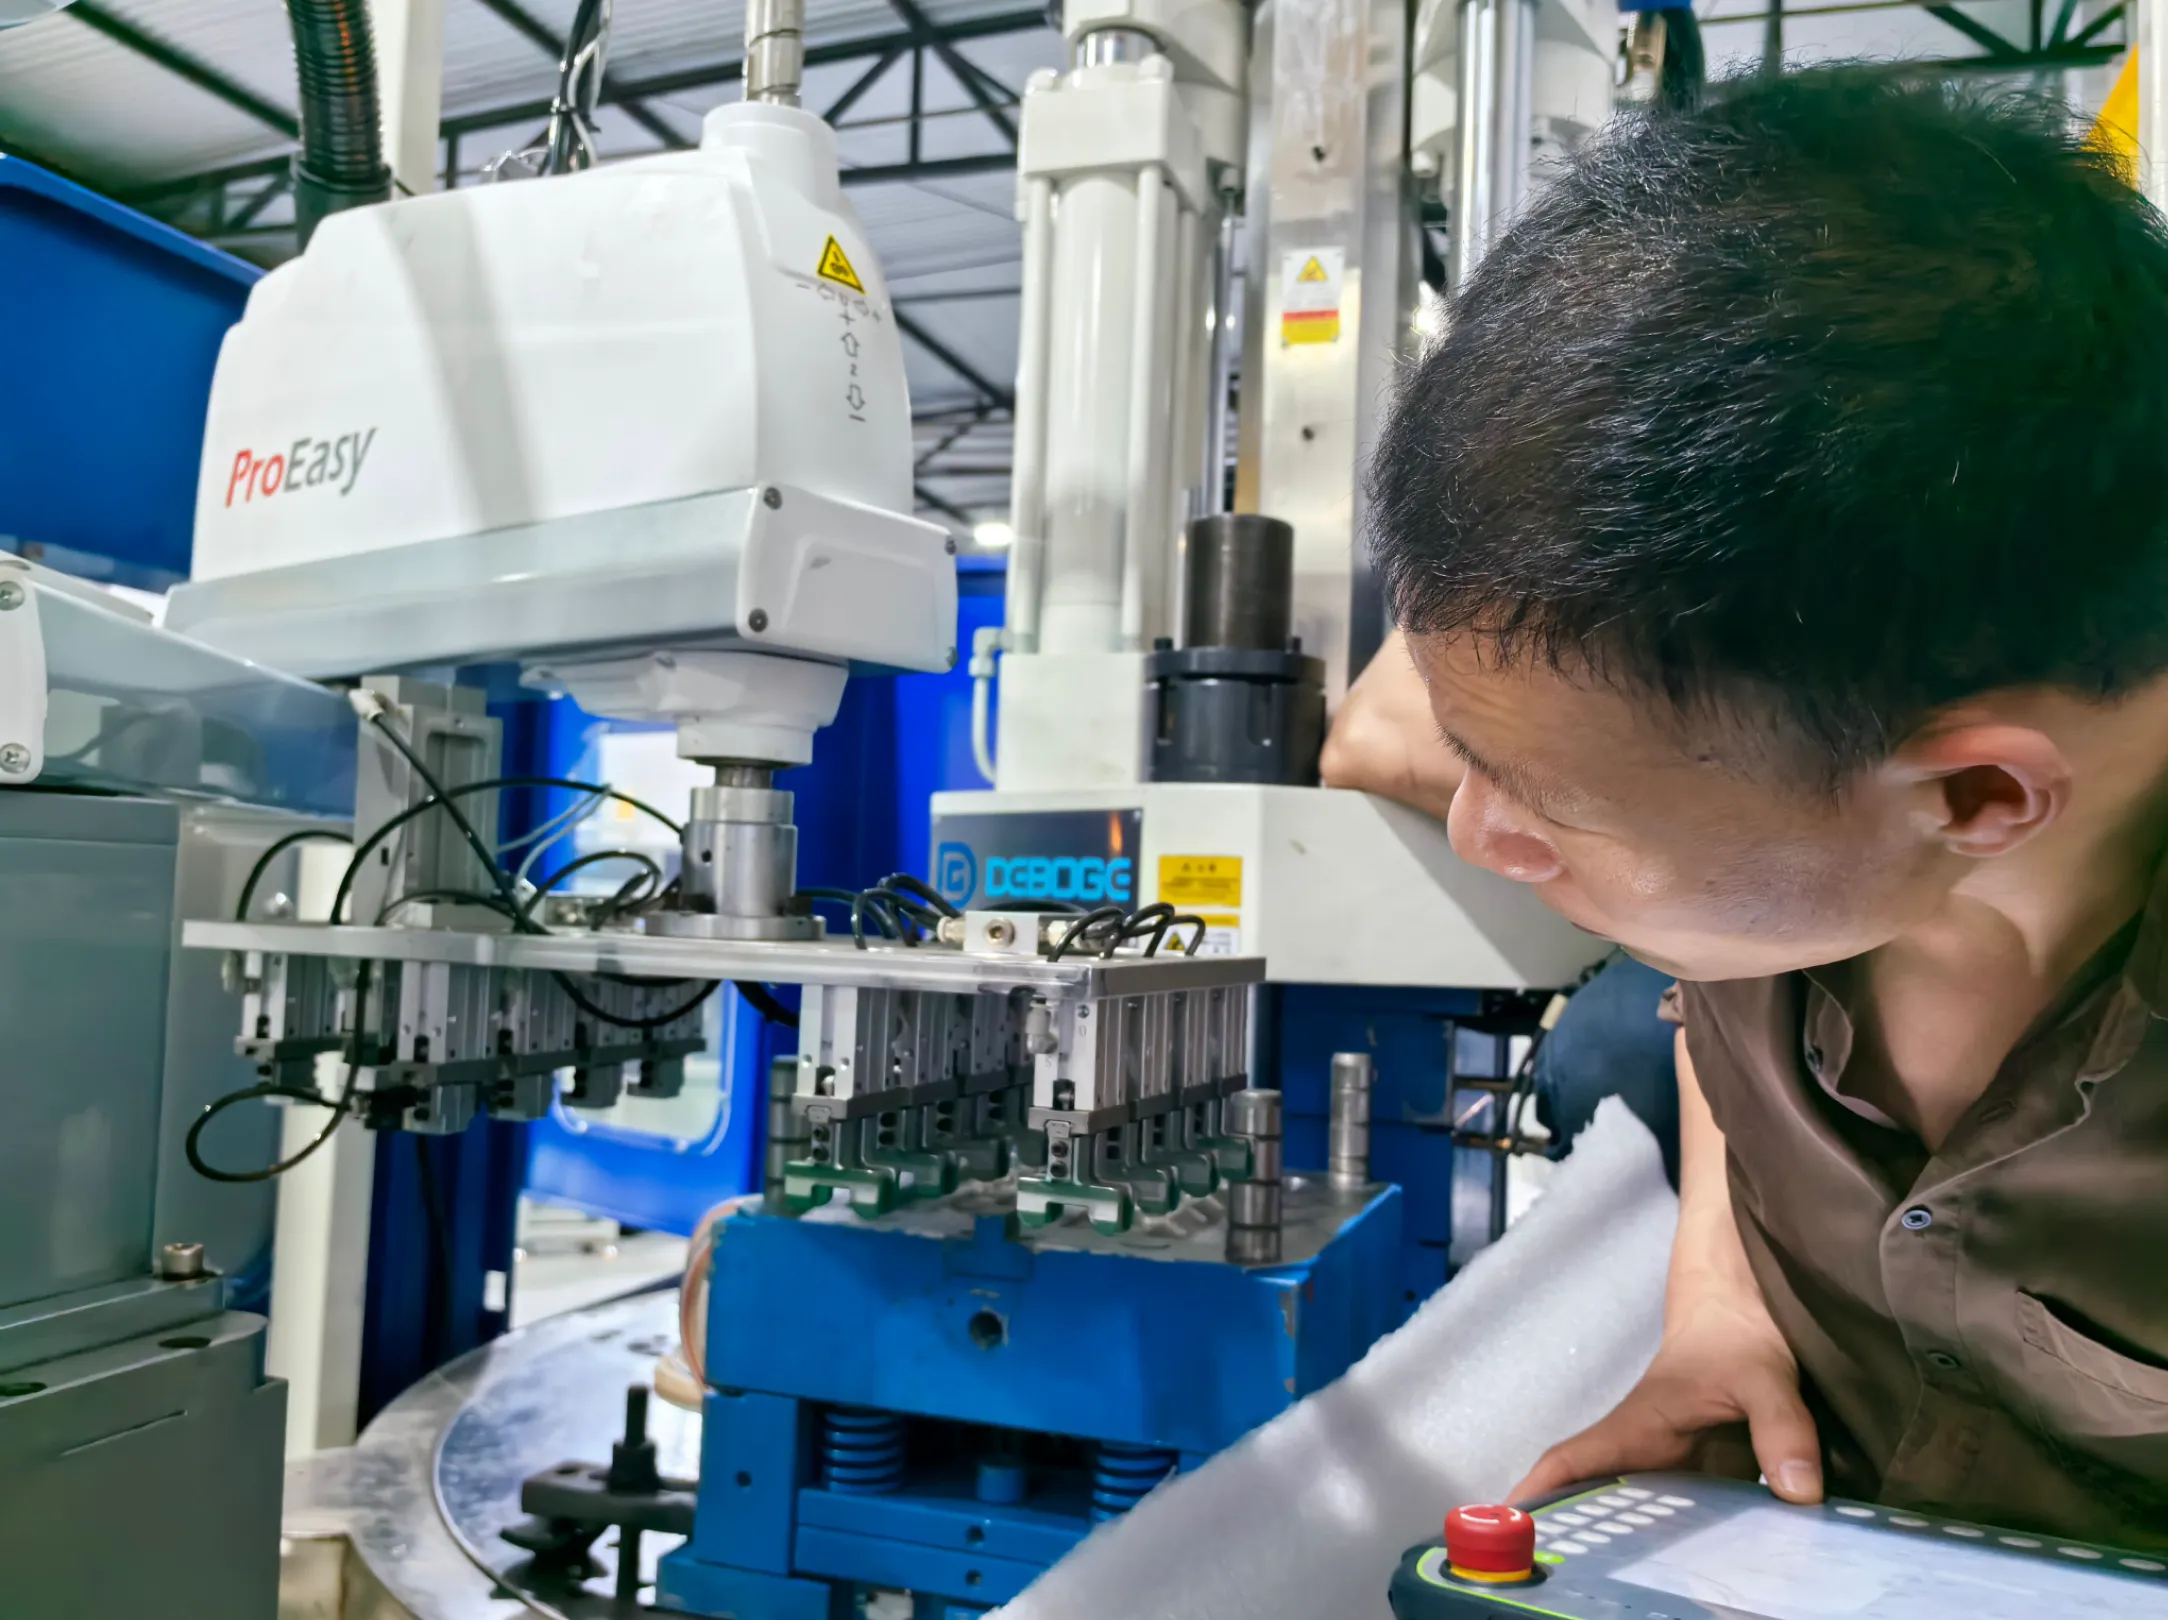
Automation Concepts
Three common automation configurations around a vertical molding machine
Automation means different things for different production goals. These three configurations cover the most common automation patterns these machines are integrated into - from simple pick-and-place to fully automated production cells.
- Pick-and-Place Integration
- Robot-mounted end-of-arm tooling removes finished parts and places inserts in one motion. The machine provides mounting points, safety interlocks, and communication interfaces so the robot and clamp sequence are synchronized.
- Conveyor-Linked Cells
- Infeed and outfeed conveyors integrated with the machine guarding. Parts flow in, inserts are placed manually or robotically, finished parts exit on the outfeed side - a continuous production cell around a single molding machine.
- Vision-Guided Quality Control
- Inline vision cameras mounted at the mold area inspect parts immediately after ejection. The machine control system can flag out-of-spec parts, pause the cycle, or alert the operator based on vision system feedback.
What to prepare for an automation discussion
- - Automation concept: What do you want the automation to do - insert placement, part removal, inspection, stacking, packaging? A clear scope helps define which machine interfaces are needed.
- - Automation equipment specs: If you have already selected or are considering specific robot models, conveyors, or vision systems, share the manufacturer, model, and communication protocol (EtherNet/IP, Profinet, Modbus, digital I/O).
- - Part and mold data: Part weight, insert dimensions, mold open stroke, and ejection stroke - these determine the robot reach, gripper clearance, and cycle timing.
- - Layout constraints: Floor space, ceiling height, operator access requirements, and material flow direction. The machine and automation must fit the available production floor, not the other way around.
Compatible Series
Automation-ready across all three Deboge platforms
Each series brings different strengths to an automated production cell - from DC's open-front access for high-speed pick-and-place to DK's high-tonnage capability for automated large-part molding. The right series depends on your part, your automation concept, and your production volume targets.
DA Series
Standard Vertical Injection
15T-800T | Vertical injection
The broadest platform with the most configuration options - 15T to 800T. DA Series machines are commonly selected for automation projects because the standard vertical layout provides a predictable reference point for robot programming and conveyor alignment.
View series specificationsDC Series
Tie-bar-less Vertical Clamping
45T-120T | Open-front access
The open-front C-frame design - 45T to 120T. Automation equipment (pick-and-place robots, vision cameras, conveyors) can access the mold from three sides without tie-bars in the way. Often reviewed for high-cycle automated insert molding cells.
View series specificationsDK Series
Vertical Clamping | Horizontal Injection
90T-1,000T | Horizontal injection
The high-tonnage automation platform - 90T to 1,000T with horizontal injection. When automated production involves large parts, heavy metal inserts, or high shot weights, DK provides the clamp force and injection capacity to sustain automated cycle rates.
View series specificationsTypical Applications
Applications where automation and vertical molding work together
Automation is most commonly discussed for applications with higher production volumes, repeatable insert geometries, and consistent part quality requirements. These application areas are typical starting points for automation-ready machine discussions.
Automation Readiness
Is your production ready for automation?
Automation can improve consistency, reduce labor dependency, and increase output - but it works best when the production process is already stable. These questions help your team evaluate whether the project is a good fit for an automation-ready machine.
Your project is a strong automation candidate if:
- - Your insert geometry is consistent and robot-grippable (repeatable shape, defined pick point)
- - Your production volume justifies the automation investment - typically higher annual quantities
- - Your process is stable - mold, material, and cycle parameters are proven and repeatable
- - You have or plan to have technical staff who can program, operate, and maintain the automation cell
- - Consistent part quality and cycle time are more important than maximum flexibility between part variants
Start with the machine, add automation when ready
You do not need to have your automation equipment selected before ordering the machine. Specifying the machine as automation-ready keeps key interfaces in the discussion when you are ready to automate. Many teams start with manual operation and phase in automation as production volumes grow.
- 1. Spec the machine with automation-ready provisions - I/O, mounting points, safety interfaces
- 2. Run manually first - dial in the mold, material, and cycle parameters
- 3. Add automation when the process is stable and volume justifies it - the machine is already ready
Related Machine Information
Frequently Asked Questions About Automation-Ready Machines
What makes a Deboge machine "automation-ready"?
Which series should I review for automated production?
Can automation equipment be supplied along with the machine?
Does automation change the table configuration recommendation?
Can an existing machine be retrofitted for automation later?
Planning an automated molding cell?
Share your automation concept, part data, and production volume targets so the engineering team can review the machine interfaces needed for your automation equipment.